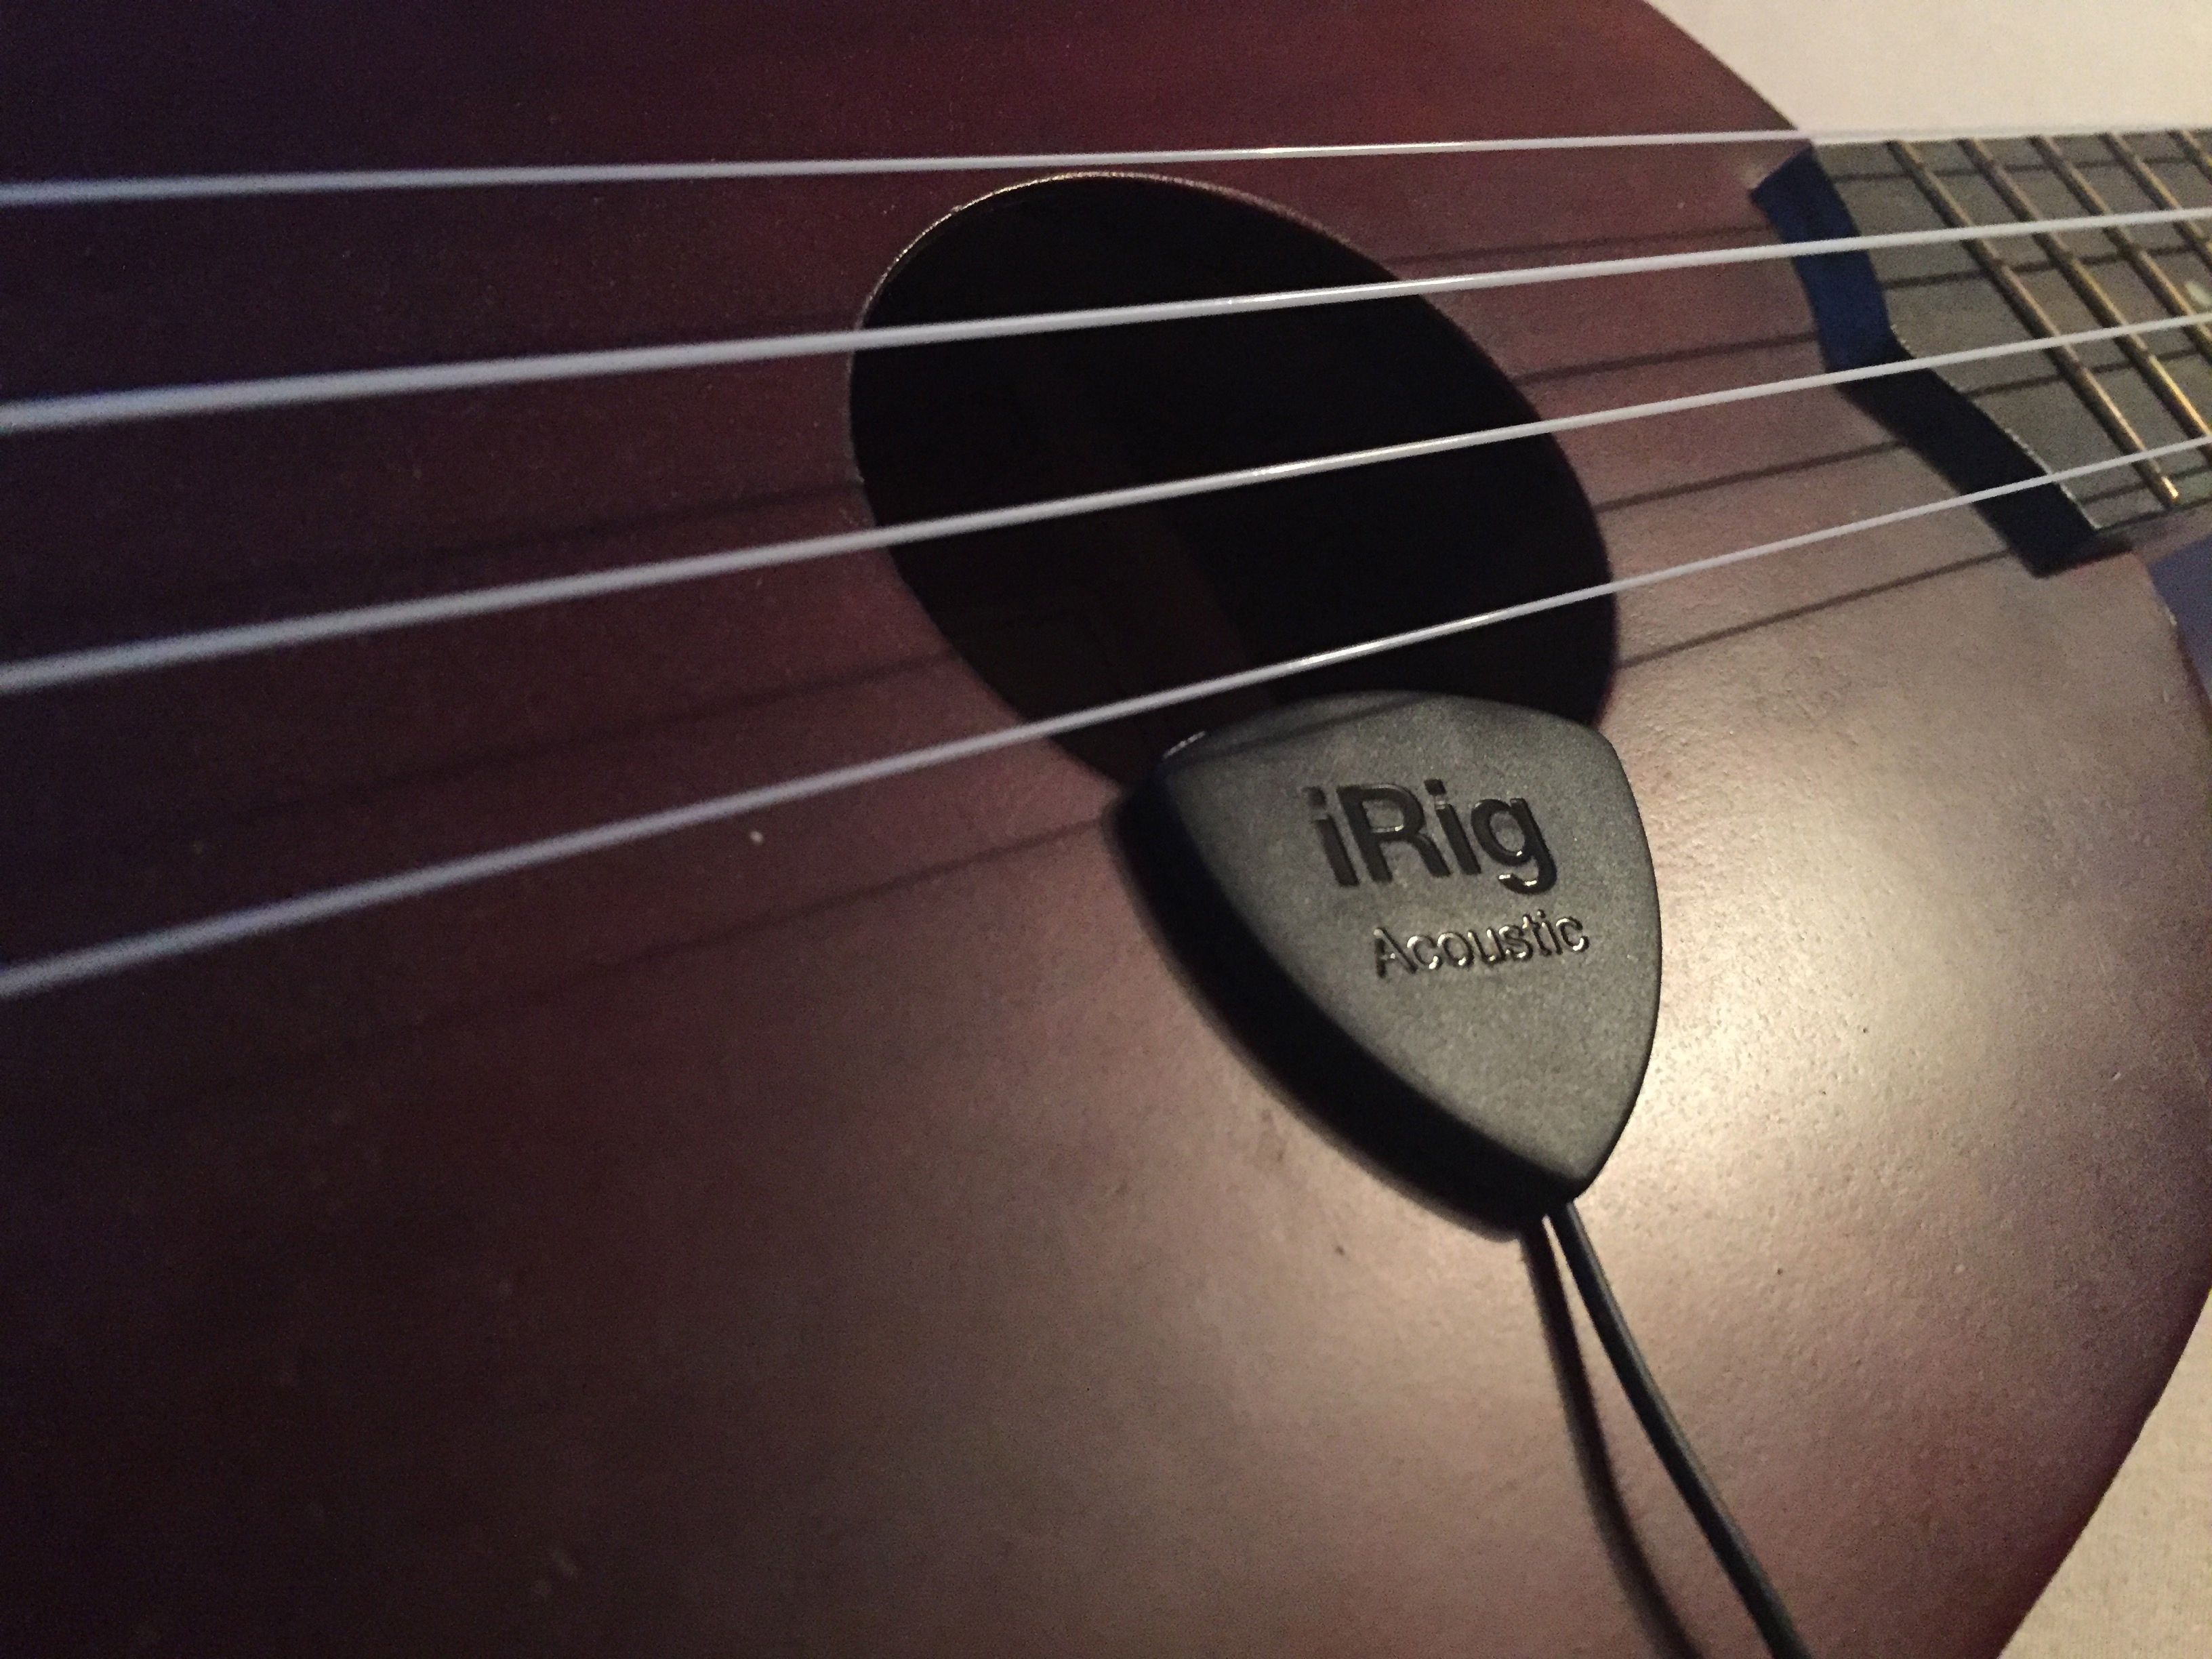
I’ve been playing around with this hardware and iOS app for a little while and it’s really good. It works just so well with my Ukulele. I wanted to do some work around creating soundscapes using my Ukulele and iOS effects apps and this has done completely what I needed.
I’ll be putting together some sound samples from this soon, so you’ll be able to hear what I mean.
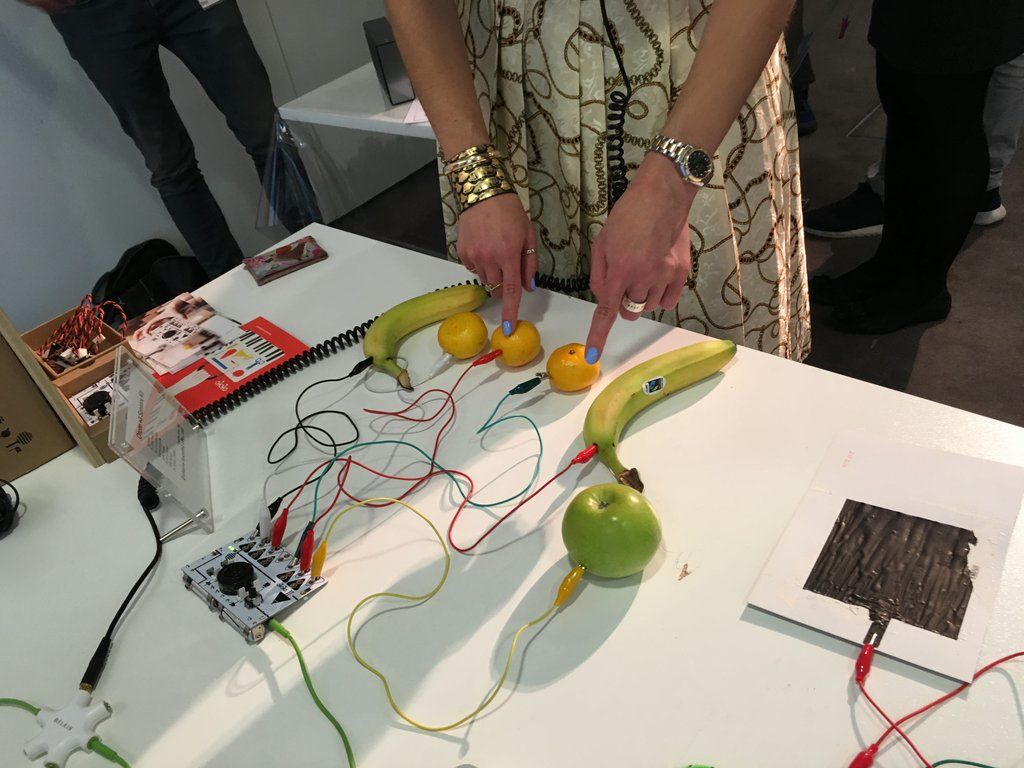
I’ve mentioned the Ototo a number of times before, I’m a fan. I really like it. I think that Ototo is a really useful, and a really fun piece of equipment. So it was great to have the Ototo from Dentaku at the SoundLab Play Space. As usual we got it hooked up to a bunch of fruit, which, whilst fun to play with, kind of doesn’t show just how much it can do.
Personally I think that the Ototo excels when used with its interesting range of sensors. Of course, the other thing that you can use the Ototo with is conductive ink. Yep, that works, and works well too. I should post some of the interactions that are possible using the Ototo, and will do soon.
I don’t know what Dentaku have planned for the Ototo, but I do hope it keeps going and moves forward. Anything else would be a shame.
Mr Concretedog (Jo to his friends) has posted this lovely piece about the SoundLab Play Space. It was great, and it’s lovely to know that friends think the same way. He’s posted some great pictures in the post too.
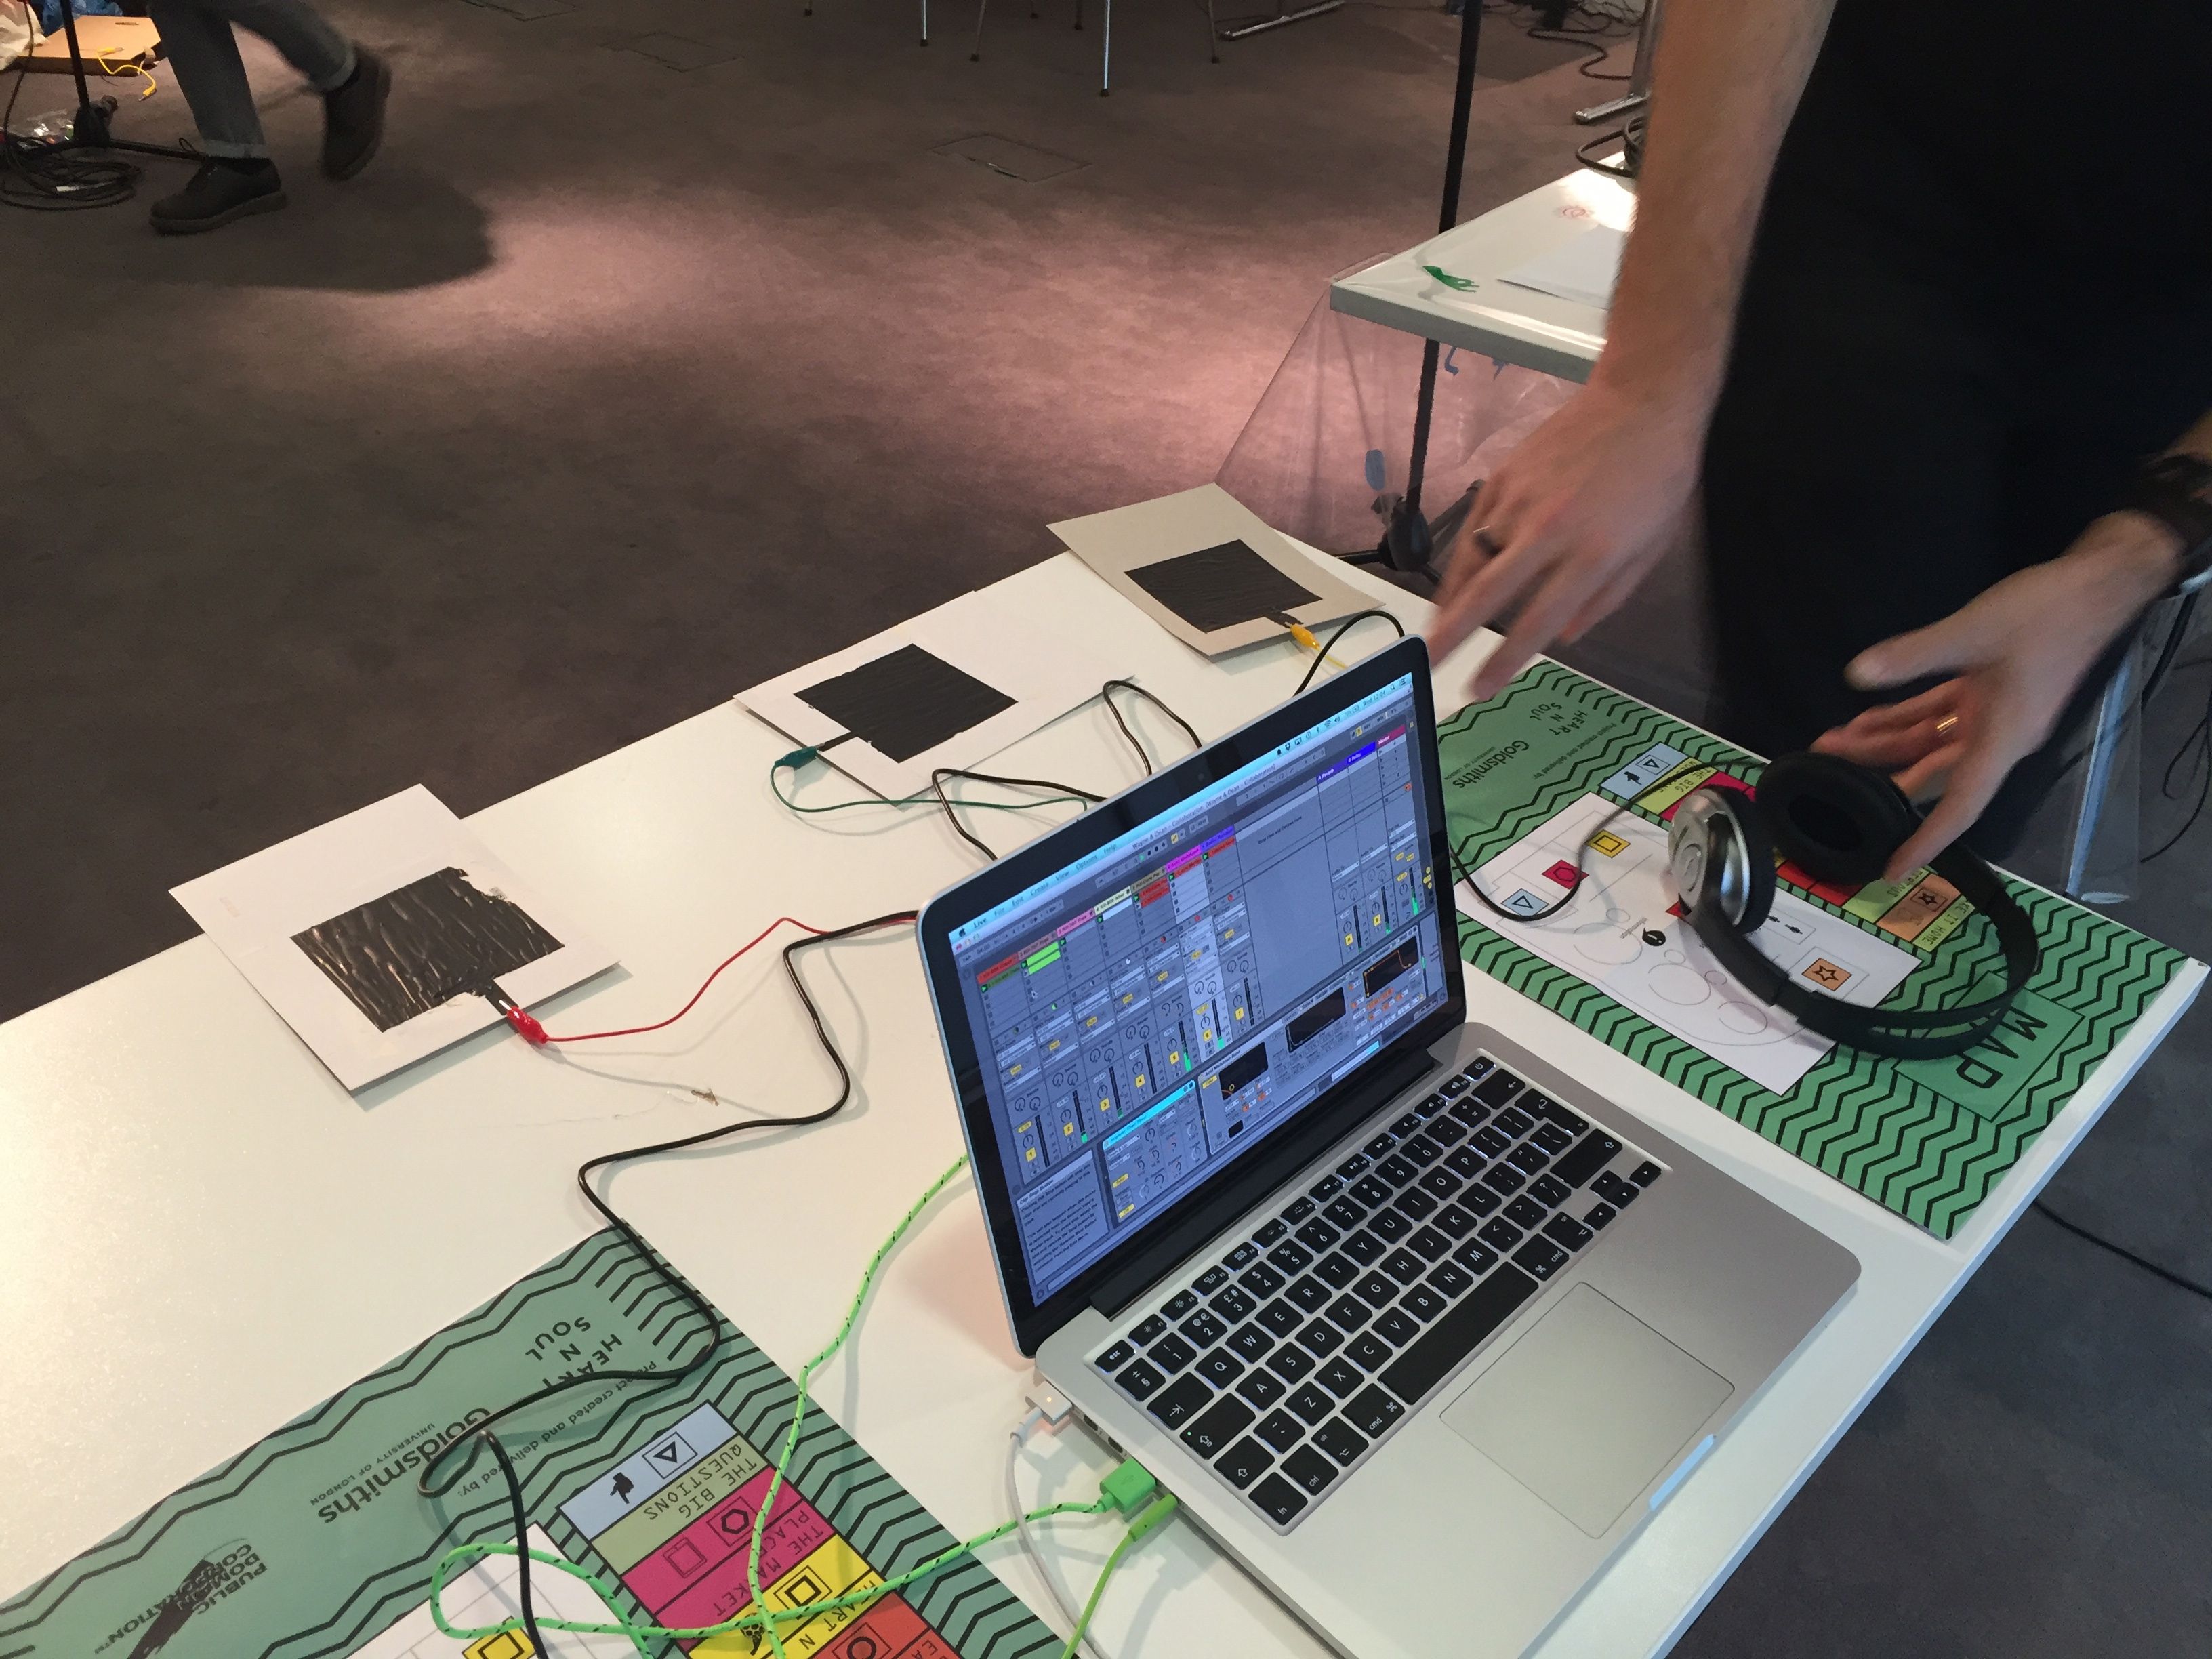
Conductive Ink Proximity Pads controlling AbletonJo setting up the Conductive Ink Proximity Pads
One of the technologies we had on show at the SoundLab Play Space was Bare Conductive’s Conductive Ink and TouchBoard. We used these to connect to Ableton Live and control a variety of parameters in a set. It took quite a lot of tinkering around to get the pads and the board to work as we wanted, and a lot of time to calibrate the pads to get them sensing and sending MIDI CCs.
Hopefully I’ll be able to release to arduino code for the set we used soon. Hopefully I’ll be able to make some videos too to show how to get it done.
I think that that the TouchBoard is a really cheap and simple way to create effective gestural control via MIDI.
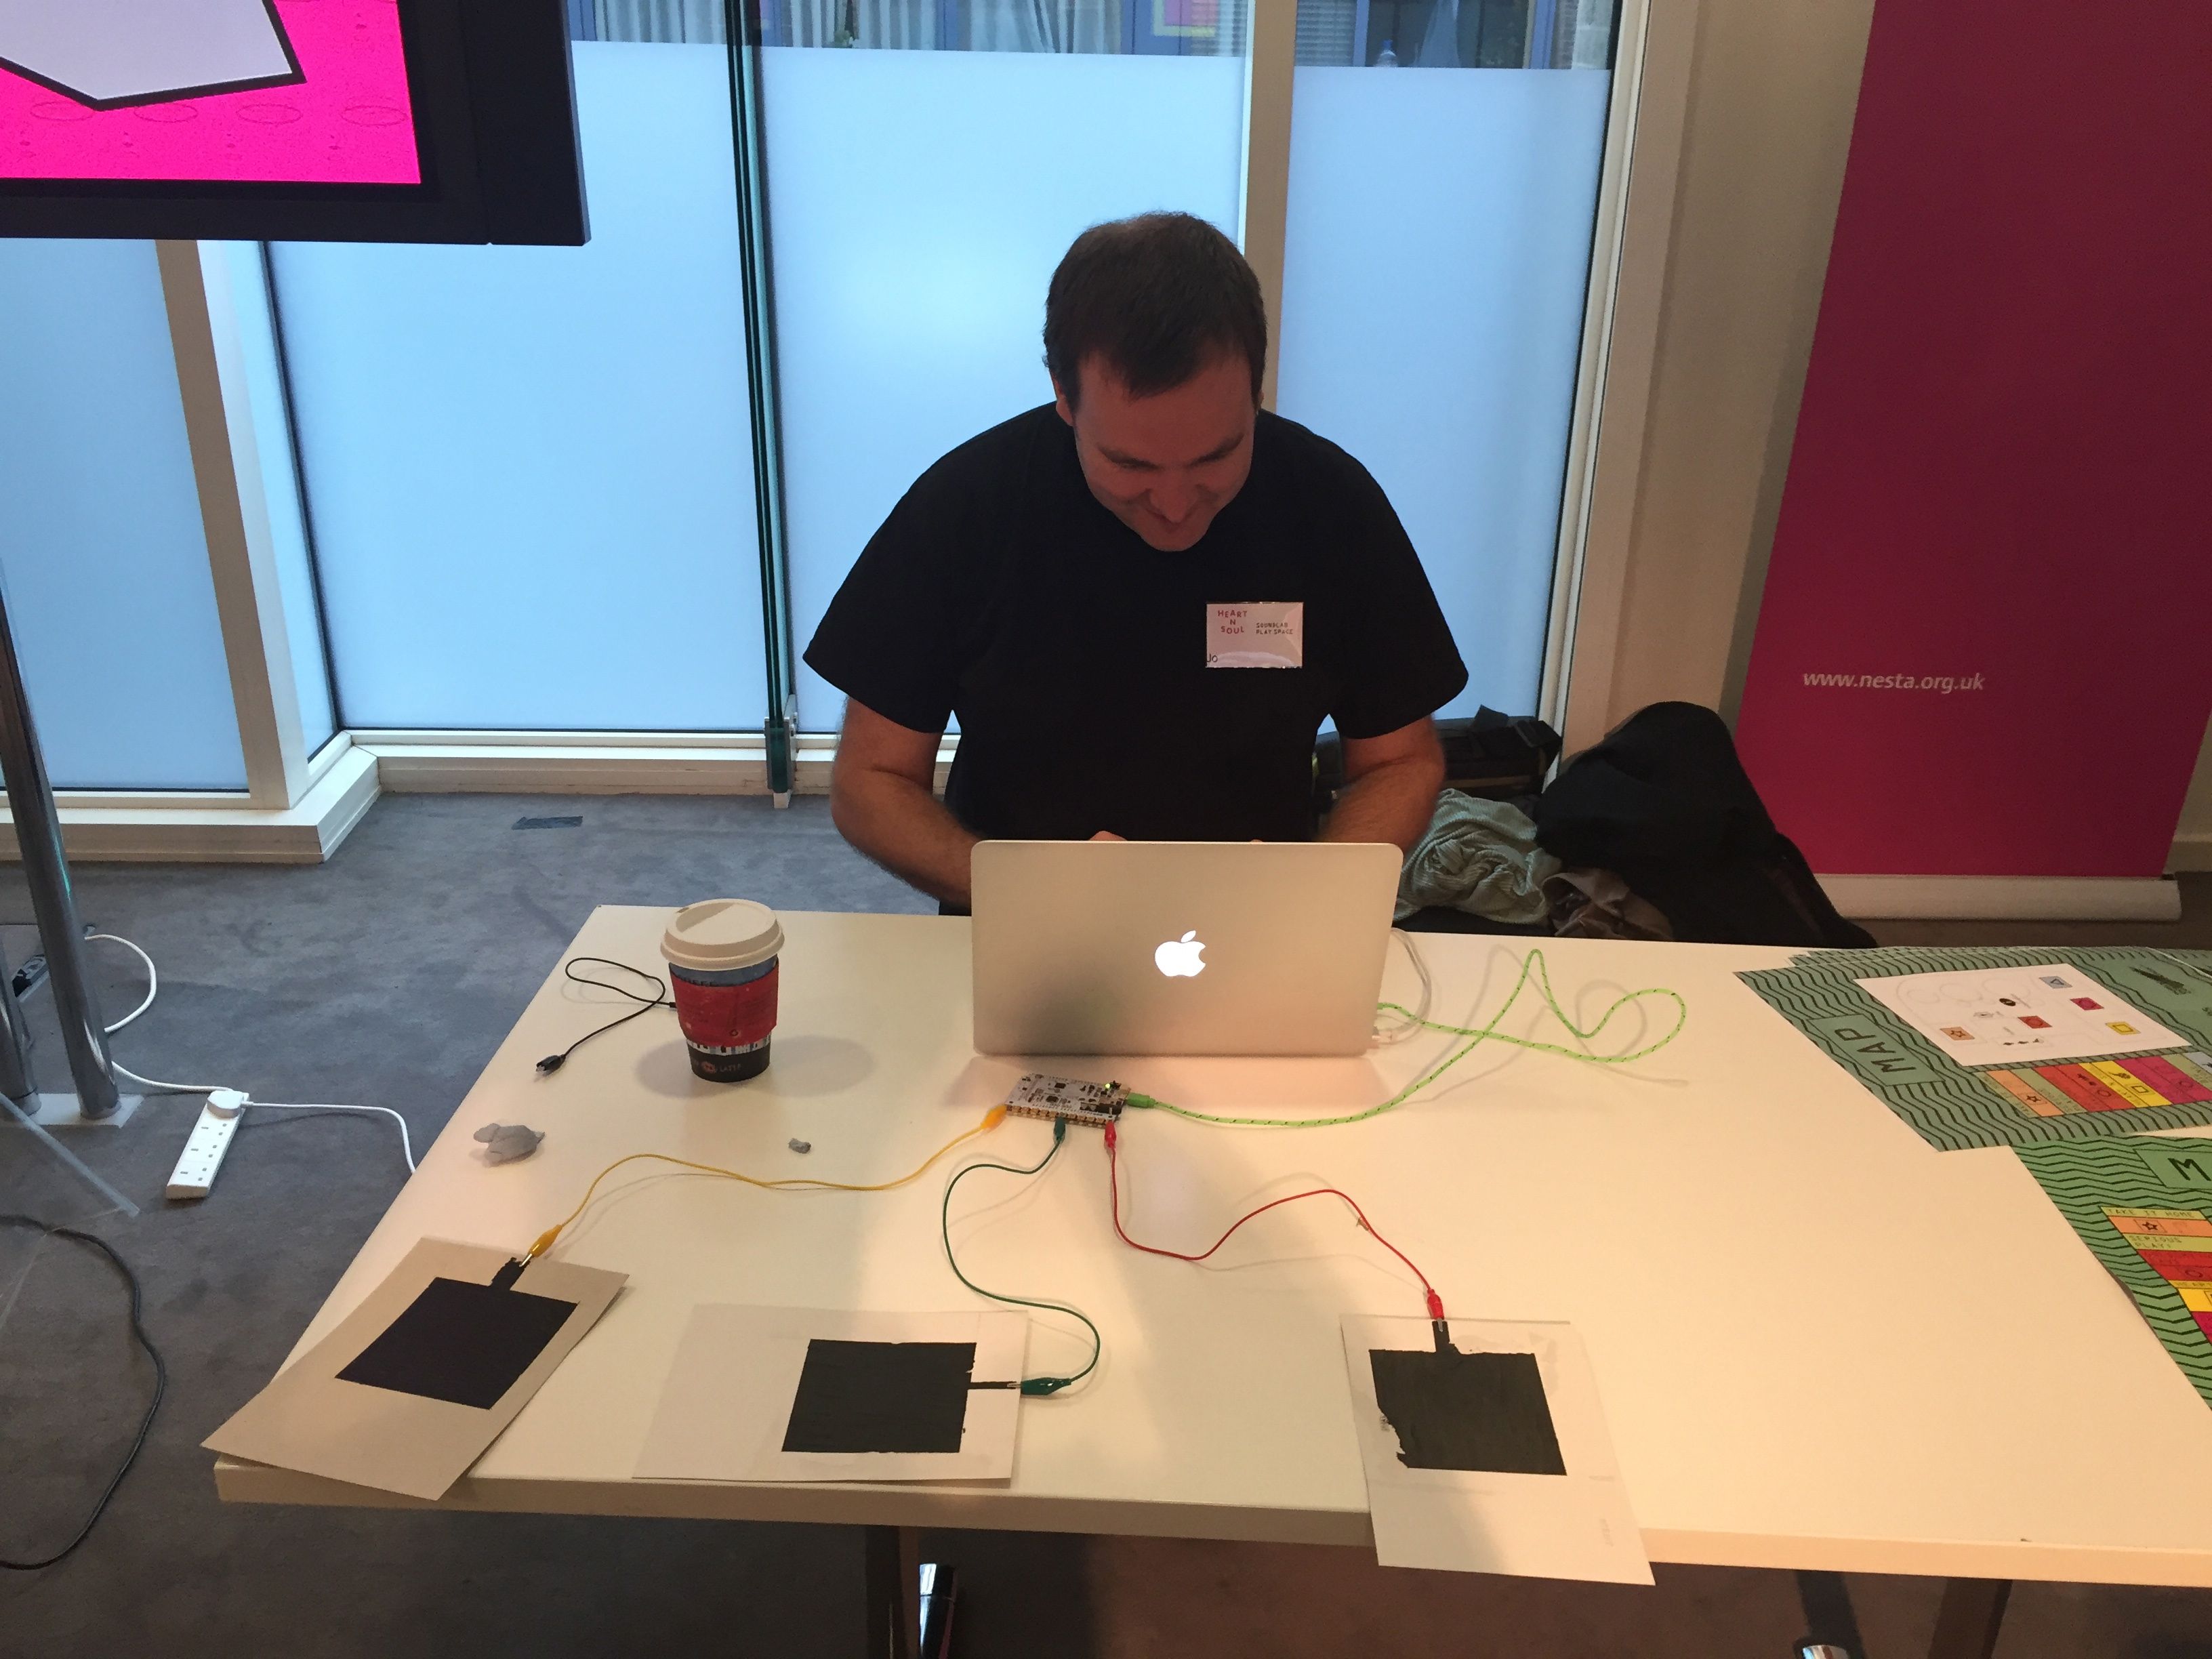
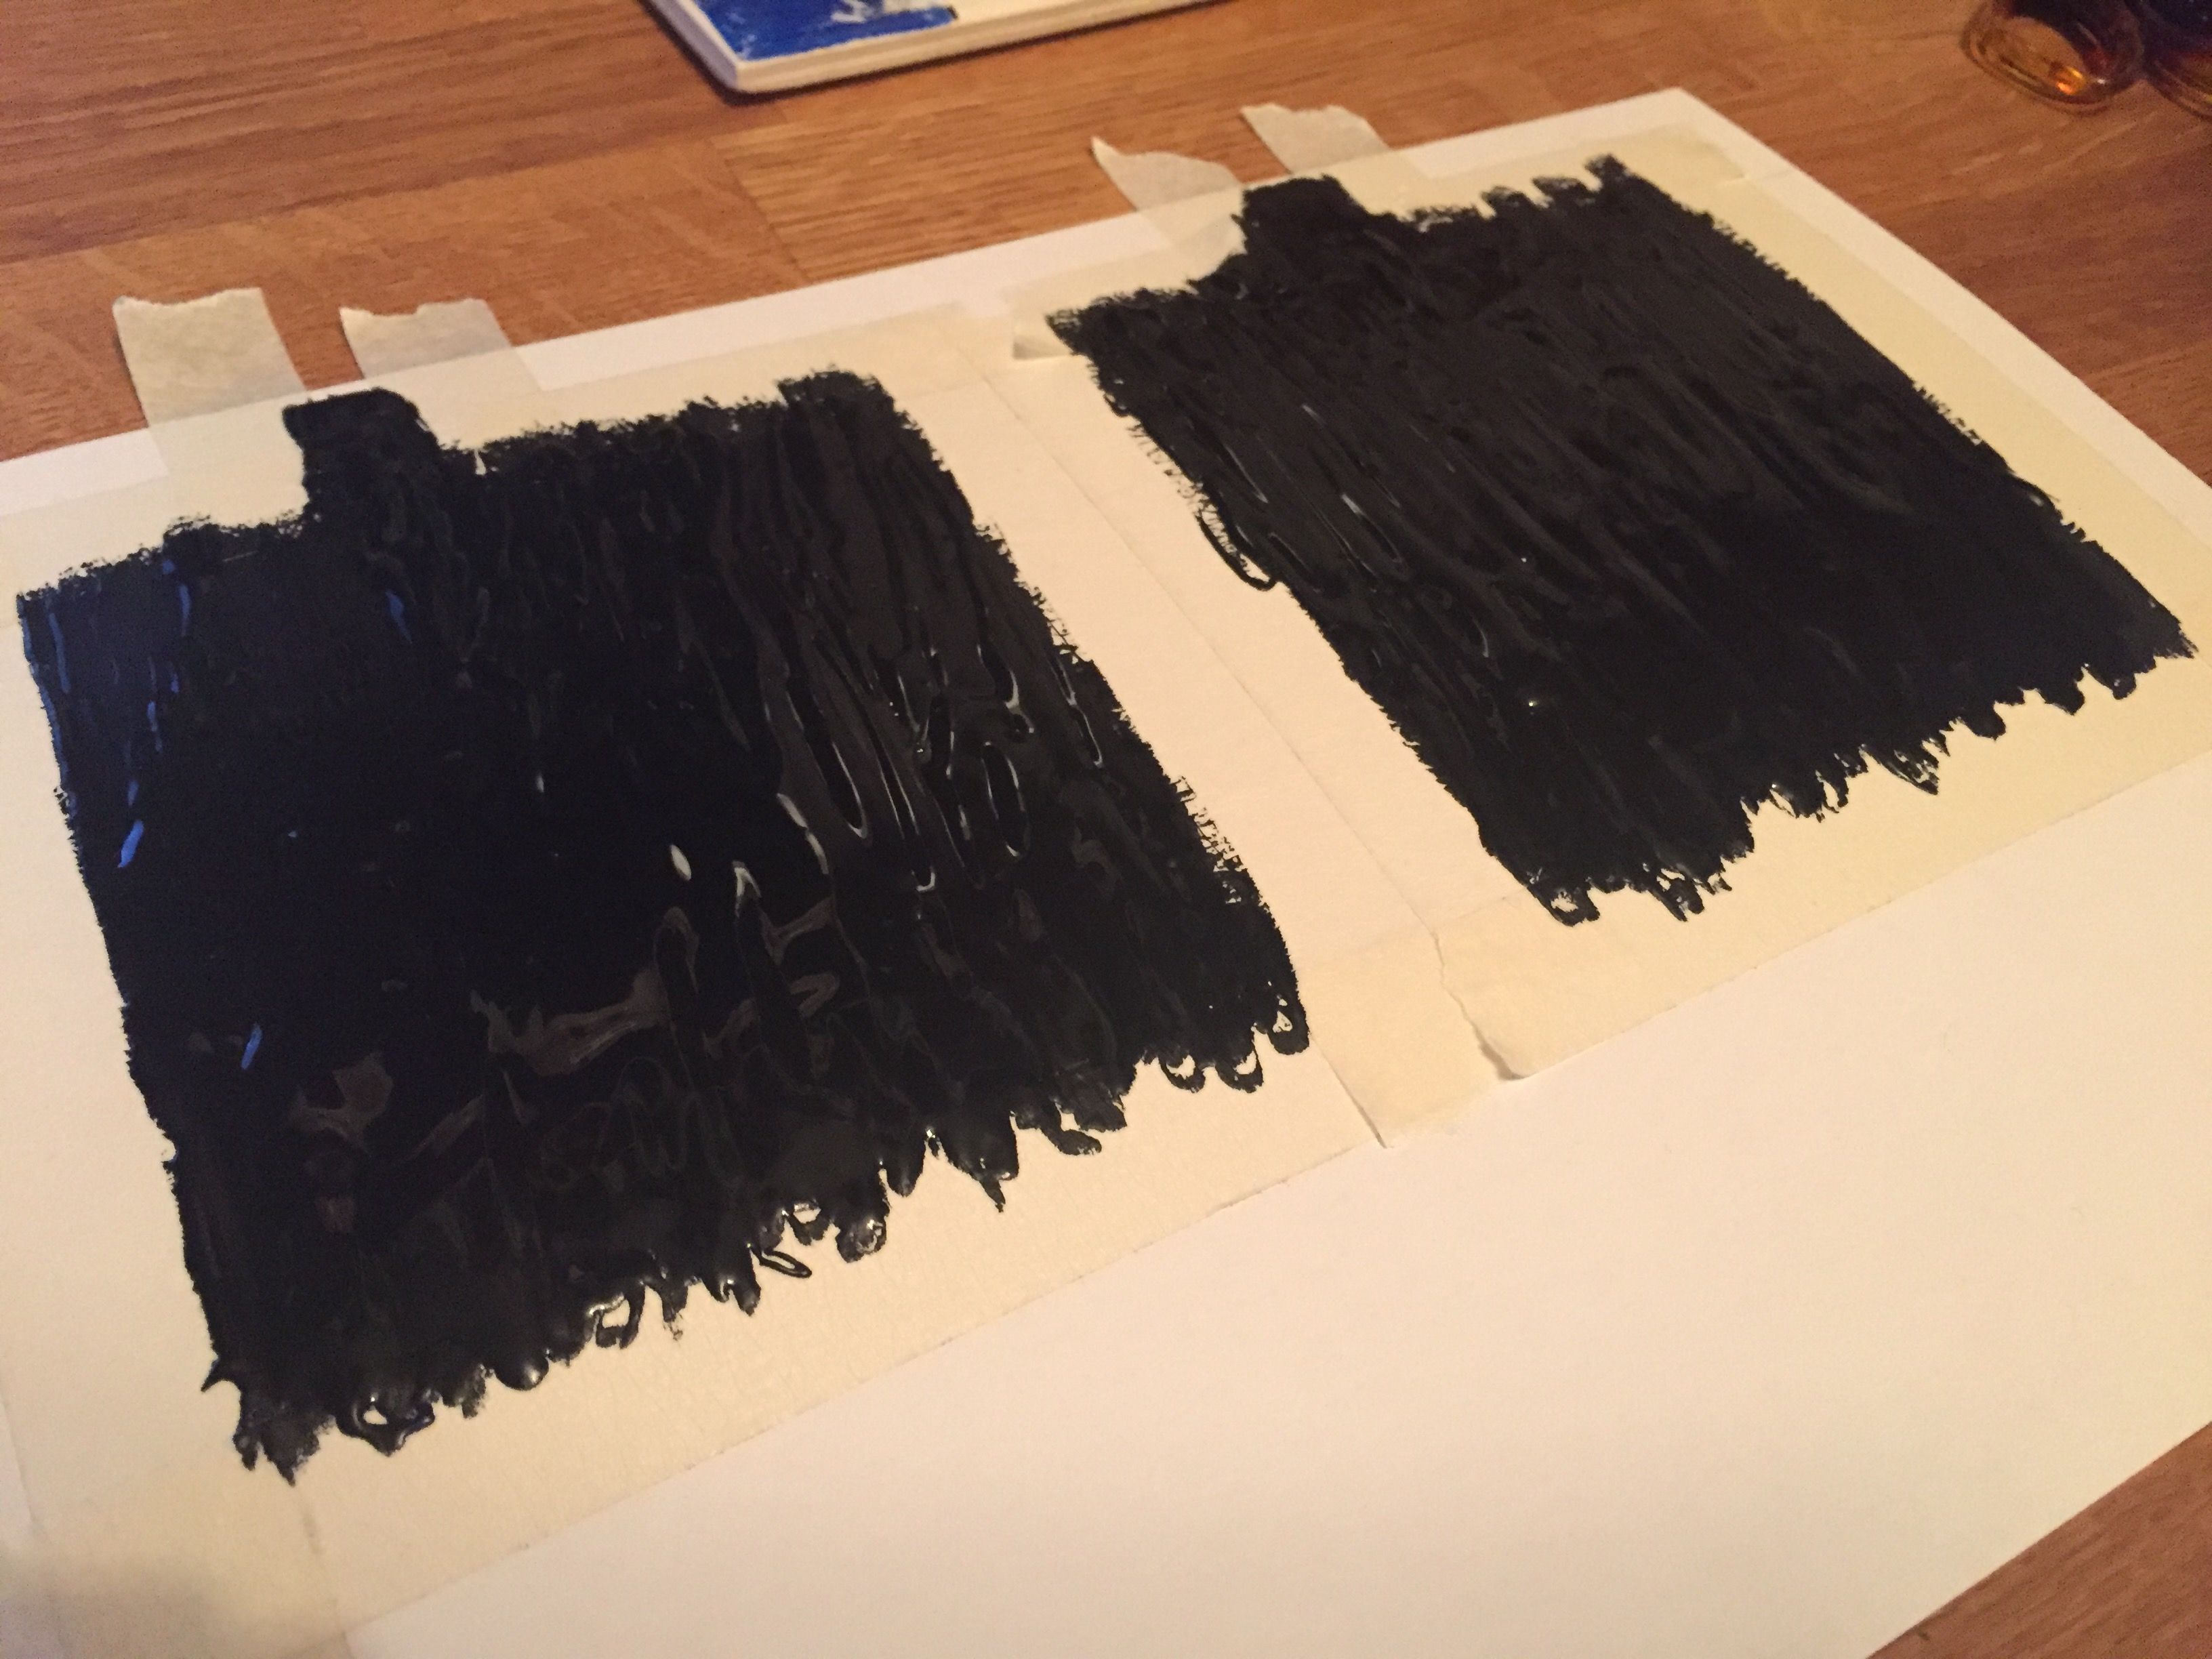
After experimenting with my previous cards I decided to try a larger and denser pad for use as a proximity sensor.
There was a very good little tutorial on the Bare Conductive site so I used that. As you can see above it very sensibly suggests the use of masking tape to make these pads. I followed the instructions and made 4 pads in the end.
Proximity pads drying out
Whilst the tape removal wasn’t an entire success it was ok and didn’t stop the pads from working which was good.
Conductive ink
I’m planning to post a much larger post around how to get these pads to work for music and how best to get the code up and running too. It might take a little while to get that going though, so hopefully it’ll be in a week or two.
I backed this on Kickstarter as I just wanted to be a very tiny part of the this. It didn’t matter how small. Also I think it is really important to preserve things like this, and I thought it was great that people from all over the world got to be a part of it by putting in little money.
One of the things I’ve been making for the SoundLab Play Space is some stuff to connect conductive ink with a bunch of Ableton Live sets. These were my first prototype cards. They worked ok, but they need some tweaking. It helped me to understand how to adapt the code to start to get the effect I was after, but it wasn’t quite there as yet. The next iteration, the one I plan to use on the day, well, Wednesday, should be much better!
I plan to use the old iBook to run older software and maybe even an old emulator or two as well. I’ve upgraded the RAM to 1.25GB now and it’s pretty good.
The last time I used Processing I was messing around with the minim library for sound. Now, in version 3, there’s the new sound library and it looks (and sounds) amazing!
I’ve only played with it a little but so far the example code looks really straightforward to read and understand. I might even start making a few things myself! Who knows.